Pages

Monday, October 31, 2011

Gen6 Electronics cover...

Recently, there was a neat cover for the Gen6 electronics posted to Thingiverse: http://www.thingiverse.com/thing:12302

It was just what I needed. Up until now my electronics sat to the front of the printer, and quite exposed, as you can see here in an older post. I also wanted to fit a different sized fan than the 40mm one in the original cover design, so I drew-up my own fan holder in Sketchup and printed that off also. It's great having a 3D printer! :)

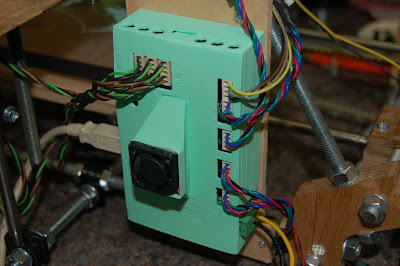
Here are the components that make up the box. It has a nice base plate with clips securing the lid.


 The cover was a neat fit and all the holes were well positioned to receive the many cables. The ducting spreads the airflow across the heat-sinks below.


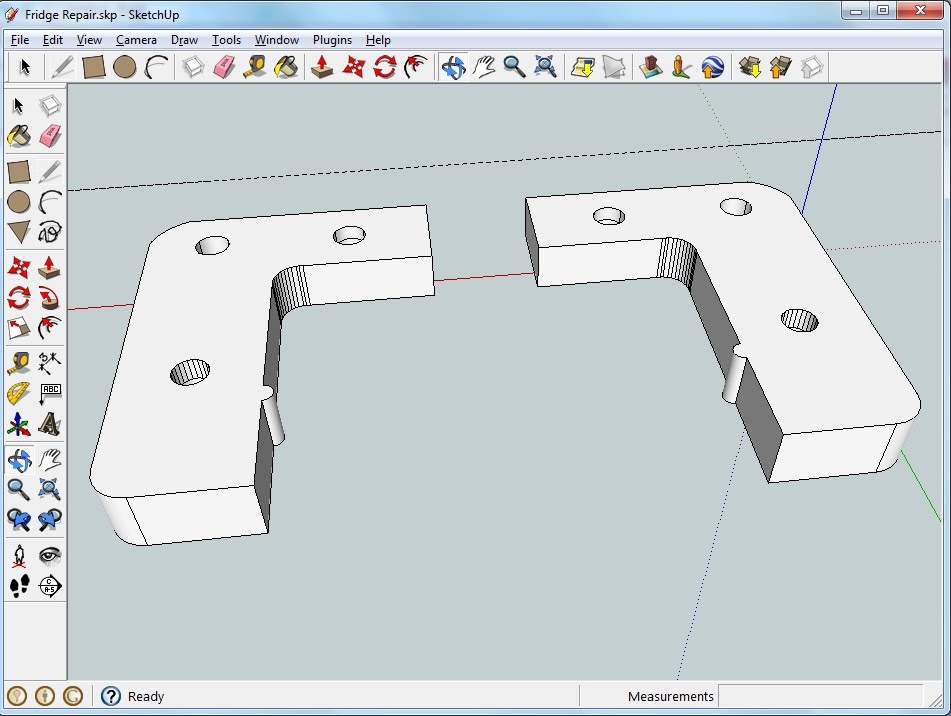
I drew the new fan ducting in Sketchup...


Moving the electronics from the front of the printer to the side has given greater access and visibility to the print platform and extruder. I'm very happy with the new location of the electronics and of course the cover.

Happy printing!


Sunday, October 16, 2011

Fridge door shelf repair... Putting the 3D printer to a practical use!

The 'drop-in' shelf in our fridge door broke again this weekend. The original design had weak tabs that hook the shelf on to the door. I repaired these tabs before with epoxy resin but it failed again at the weekend.

It was an excellent opportunity and exercise to apply all the design and printing skills I'd been building up over the past while. I started by taking some measurements from the broken shelf bracket and the tab on the door that held the shelf in place, and then came up with a better stronger bracket which I drew out in Sketchup.

I was able to incorporate the little notches that hold the shelf in place, and even allow for a taper in the door receiver slots. A quick one-layer print was done so I could offer the piece up and fine-tune it's size, then I made a mirror copy and exported .stl files for the left and right hand pieces. The original light plastic bracket had broken off on both sides of the shelf.


test print of new bracket. Excuse the colour! I've no white plastic!


There's the new bracket attached to the fridge shelf. you can see what remains of the original skinny piece that broke away, and the epoxy from previous repair attempts.

I considered a number of ways to attach the new bracket but settled on three small pop-rivets.

(Above) Here's the new bracket which drops into a slot in the door panel.


(Above) Here you can see the pop rivets which secure the new bracket. Final shot below is of the new improved fridge shelf!
A practical application for the 3D printer!

Happy printing!
NumberSix